This recipe is from Our Best Bites, one of my favorite recipe sources.

Ingredients:

- 1/3 C (3 oz) cream cheese
- 1/4 C green salsa
- 1T fresh lime juice
- 1/2 t cumin
- 1 t chili powder
- 1/2 t onion powder
- 1/4 t granulated garlic, or garlic powder
- 3 T chopped cilantro
- 2 T sliced green onions
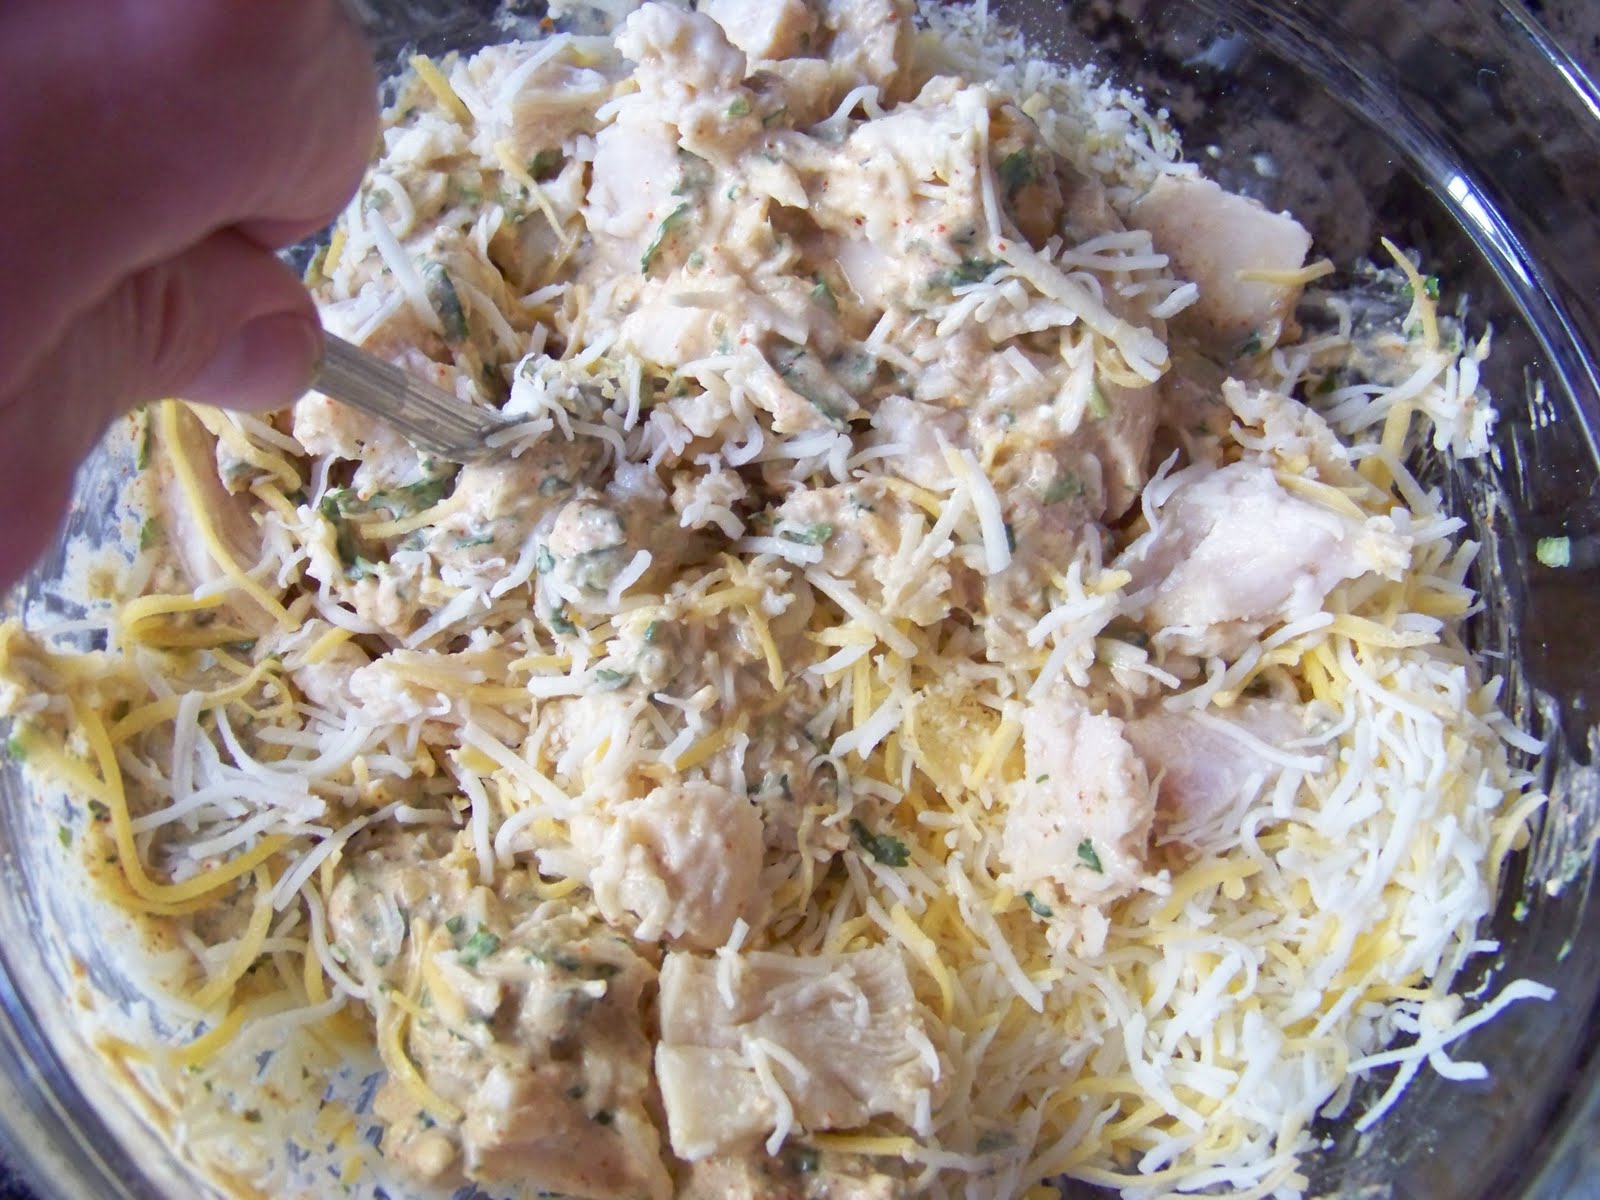
- 2 C shredded cooked chicken (I used canned chicken)
- 1 C grated pepperjack cheese (I used the mexican blend from Costco)
- small corn tortillas (and actually, flour ones are really good as well)
- kosher salt
- cooking spray
Cook time: 20-25 min.
Total start to finish: 40 min.
Yeilds: 16 taquitos
Heat oven to 425. Line a baking sheet with foil and lightly coat with cooking spray.
Heat cream cheese in the microwave for about 20-30 seconds so it’s soft and easy to stir. Add green salsa, lime juice, cumin, chili powder, onion powder and granulated garlic. Stir to combine.

add cilantro and green onions.

Add chicken and cheese and combine well.
You can prepare up to this step ahead of time. Just keep the mixture in the fridge.
Work with a few tortillas at a time and heat in the microwave until they are soft enough to roll without cracking. It helps to place them between damp paper towels. Usually 20-30 seconds will do it. If you find yours are cracking when you roll them or are coming unrolled right away, just try heating them longer and try the paper towel thing.

Place 2-3 T of chicken mixture on the lower third of a tortilla, keeping it about 1/2 inch from the edges.
(You could add less if you like. Mine tend to splurge in the middle)

Place seam side down on the baking sheet. Lay all of the taquitos on the baking sheet and make sure they are not touching each other. Spray the tops lightly with cooking spray or an oil mister and sprinkle some kosher salt on top.

Place pan in oven ( at 425) and bake for 15-20 minutes or until crisp and the ends start to get golden brown.

Here you have it...

Serve with fresh guac, sour cream, and or fresh home made salsa.
"Delish!"
Review: I love them! Maurice said "these are good hun!" Which can be translated to anything but this time I think he really liked them. The kids liked to dip, but the chicken filling was a little scary for them to try. Overall they did eat them, and didn't have anything left on their plates. :)
If you are looking for a fairly simple mexican style dinner, or just craving some finger foods this is worth your time. Thanks for the recipe!


